HOW TO INSTALL BRAKE PADS CORRECTLY
Work smart when replacing a vehicle’s hardest working components. Avoid brake noise, caliper rattle and pad movement with these simple steps
 INTRODUCTION
Most drivers don’t give their brakes much thought, taking for granted that they will operate flawlessly when needed. But, after thousands of driving hours, including countless quick trips and longer journeys in a vast range of operating conditions, brakes inevitably begin to show signs of wear such as reduced stopping power, unwanted noise, and other concerns.
Although replacing brake pads – the most common brake repair – is a routine job for an experienced mechanic, the importance of the pads to the safe operation of a vehicle means there is little room for error.
Whether you are new to installing brake pads or in need of a refresher on how to do it right, here’s an overview from Ferodo® of the four fundamental steps required for the successful replacement of a vehicle’s hardest working components.
- Select the right replacement pads. While there are countless brands and varieties of brake pads available, not all are created equal. The best brands, such as Ferodo, have accumulated impressive track records of trusted performance and reliability. In fact, Ferodo recently celebrated its 125th anniversary of braking leadership. Also, better-quality brake pads will come with all the hardware needed to complete the full job. Another important tip is to use the same brand of brake discs and pads to ensure optimum compatibility, performance, longevity and ease of installation.
- Prepare properly. Replacing brake pads isn’t as simple as removing the worn pads and installing new ones. Instead, before the installation, the calipers should be carefully inspected and cleaned of the dirt and grime accumulated during everyday operation. Additionally, applying high-quality, temperature-resistant grease to the abutment of the brake pads, caliper mounts and backing plates of the new pads can help eliminate brake noise.
- Understand and account for variations in different pads. As with many automotive components, different vehicles will require different varieties of brake pads featuring their own unique designs. You need to be aware of these variations when selecting the right replacement pads.
- Bedding-in to finish the job right. Even when the brake pads have been installed and the vehicle is off the lift, the job still isn’t complete. All new brake pads require bedding-in to acclimate the pads for trouble-free performance on the vehicle.
 CORRECT INSTALLATION STEPS
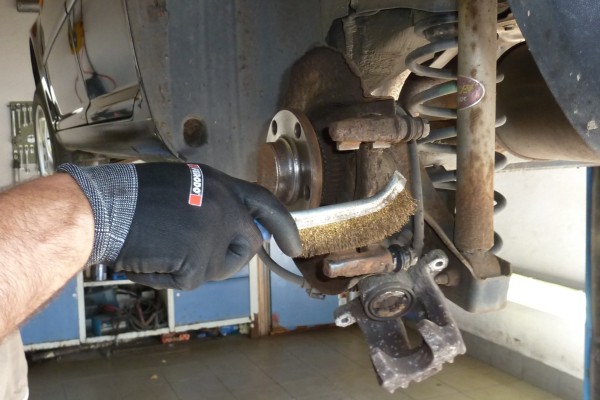
1. Clean and check the caliper
After disassembly, check and clean the mounting surfaces on the brake calipers to ensure maximum sliding effort of 3 - 4 kg.
2. Brake grease application
A small amount of a special temperature resistant brake grease can be applied to the following components:
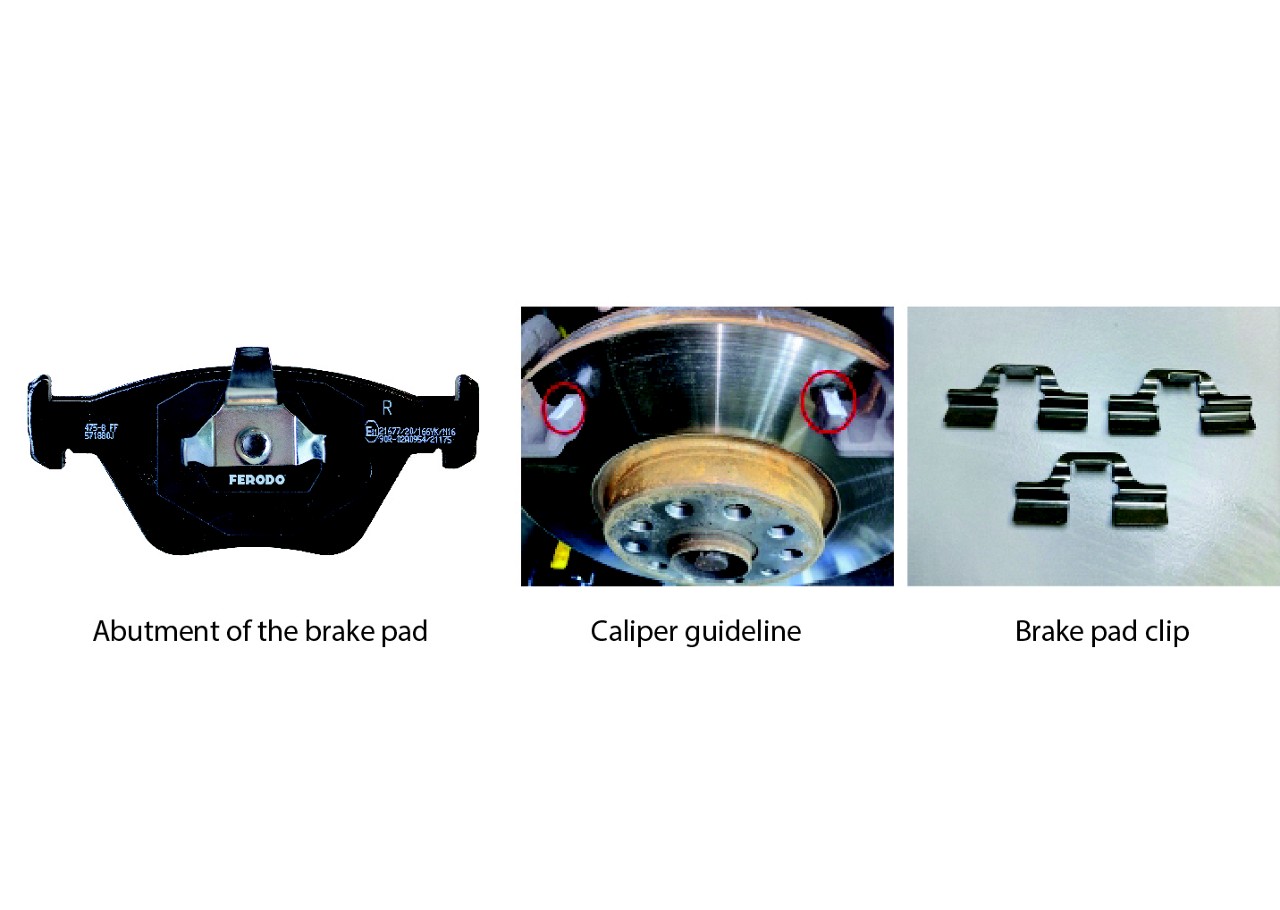
This will help to eliminate noise during braking.
NEVER use copper-based grease for brake system parts since it could cause electrochemical corrosion and may also lead to sticking at high temperatures.
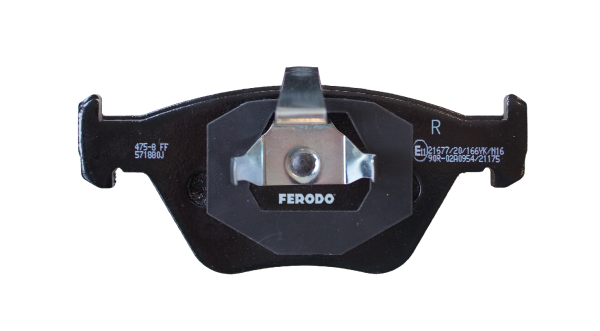
We recommend the use of a copper free mounting paste based on high-viscosity silicon, containing pure natural graphite (reference FGB068).
3. Identifying the correct position
3a. Directional brake pads
Some braking systems now use asymmetrical brake pad designs, which apply the brake pad to the disc at an angle, to significantly reduce vibration and noise.
This type of pad may have a chamfer on the friction surface, or a cut-out in the noise reduction shim on the backing plate. Both must be positioned on the caliper in a specific way to ensure correct fitment.
It is important that the arrow marking on the backplate of the pad matches the direction of brake disc rotation. When not following these instructions, noise may occur.

3b. Brake pads with backplate rivets
Some pads contain rivets on the backplate. In this case, these must be fitted in the right position to avoid misalignment of the pads, which can generate vibration and noise.

The pad shown on the left must be fitted on vehicle reaction side, identified with the rivets (3) at right angles with locking tabs (4). The pad shown on the right must be fitted on the piston-side. This pad is identified with the rivets (1) parallel to locking tabs (2).
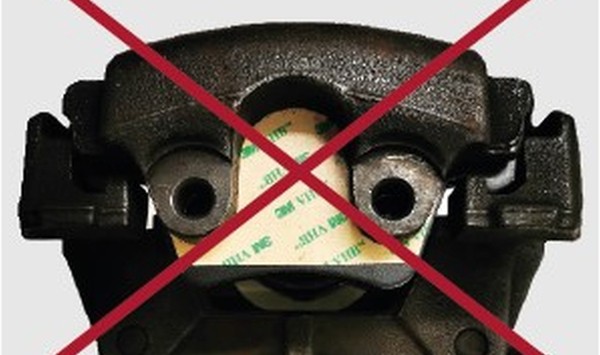
3c. How to properly remove 3M Protective paper
If the brake pads are supplied with an adhesive foil, only the paper needs to be removed. Please leave the adhesive foil on the backplate, as this secures the brake pad to the caliper and avoids movement.
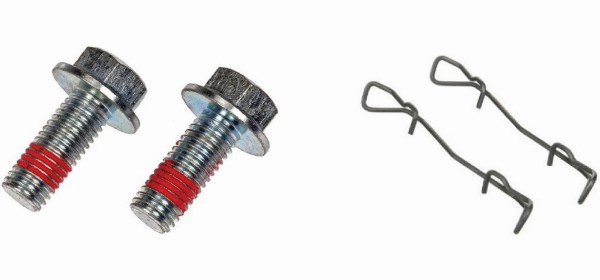
4. Always use new installation accessories (springs & bolts)
The springs limit movement and vibration if locking sealant is applied to the caliper bolts, which protects the bolt from loosening and helps you to avoid tightening the bolts with excessive torque. This allows for a secure hold, reducing risk of brake noise and vibration.
Check the appearance of additional mounting accessories (such as retainers, anti-noise shim, etc.) - if there are any signs of deformation, corrosion or damage, replacement is required.
5. Use specific tooling:
Fix the caliper and wheel bolts with the right torque recommended by the vehicle manufacturer (often caliper bolt torque is 30Nm, and wheel bolts/nuts around 110Nm). Always follow car manufacturer specifications for recommended torque.
NEVER use a pneumatic impact wrench or thread lubrication when tightening bolts/nuts.
We recommend using a gentle compressed air tool and then a torque wrench when tightening wheel bolts/nuts.

6. Three rules of bedding-in:
- As a safety measure before driving, check the brake pedal free travel and its hardness when pressed.
- Initial bedding-in: observing all necessary safety measures, perform 20 brakings from 80 to 30 km/h with a slight or moderate pressure on the pedal.
IMPORTANT: keep the interval between brakings for at least 30 seconds, in order not to overheat the brakes!
- During the first 200-300 km, ideally avoid sudden braking, braking from high speed, as well as braking on an overloaded car.
 GENERAL RECOMMENDATIONS
We strongly recommend using brake pads and brake discs of the same brand to ensure full compatibility. Combining parts from different manufacturers can cause brake noise, regardless of their quality.
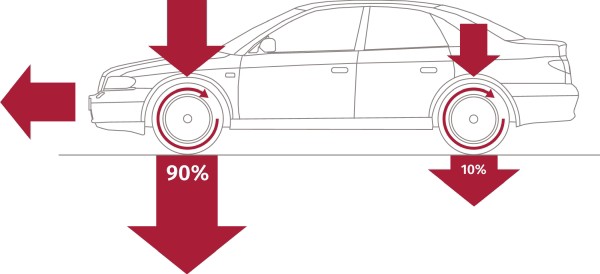
Check the condition and performance of rear brakes. Generally dynamic axle load distribution at braking is as follows: 70% on the front axle and 30% on the rear axle. If the performance of the rear brakes is reduced, up to 90% of the braking load is applied to the front. The front brakes are not designed to cope with this load, which can result in noise when braking.
Success Every Time
Replacing brake pads is one of the most important vehicle repairs – but it needn’t be intimidating. Following the steps described above can result in a successful installation every time.
More Support Tools available on:
Ferodo Youtube channel : https://www.youtube.com/FerodoEU
Garage Gurus Website www.drivparts.com/en-gb/garagegurus.html
Download the Trouble Tracer Here:
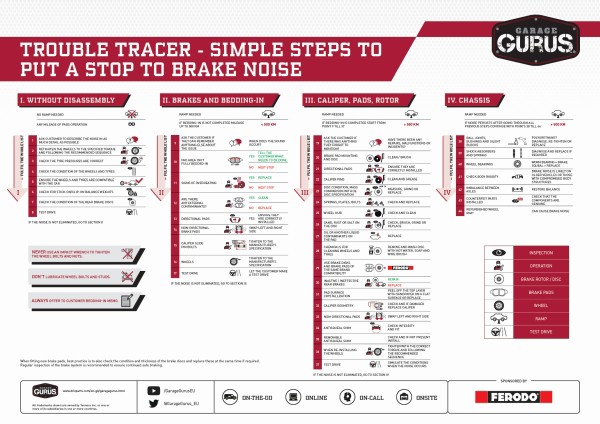
simple steps to put a stop to brake noise
The content contained in this article is for informational purposes only and should not be used in lieu of seeking professional advice from a certified technician or mechanic. We are not liable for any damages resulting from your reliance on this content.
FOLLOW US on Facebook and YouTube
On our Facebook and YouTube channels we provide useful tips, best practices, current offers and exciting background information. Convince yourself and visit us on both channels!
- Facebook: https://www.facebook.com/FerodoMENA
- Youtube: https://www.youtube.com/FerodoEU
